
Ever want to bake fresh sourdough Bread but are intimidated by how daunting it seems? That was me too but now it's something I make every week! Yes, you can find it in nearly every grocery store but the number of additives and impossible to pronounce ingredients really takes the enjoyment out of it. At least for me, that's why I have spent countless weekends and wasted flour to build a full proof recipe that even I can't mess up and that's saying something... trust me.
Here is all you will need for this recipe that you may not have yet.
=A Dutch oven. This will help to create an even bake and perfect crispy crust. if you do not have one, I don't recommend this recipe but am happy to recommend the one I use and will link it as well as my other tools at the bottom of the page.
=Danish whisk, this one isn't required but will make your life easier.
= Sourdough Starter, this one is kind of a given if you know anything about sourdough.
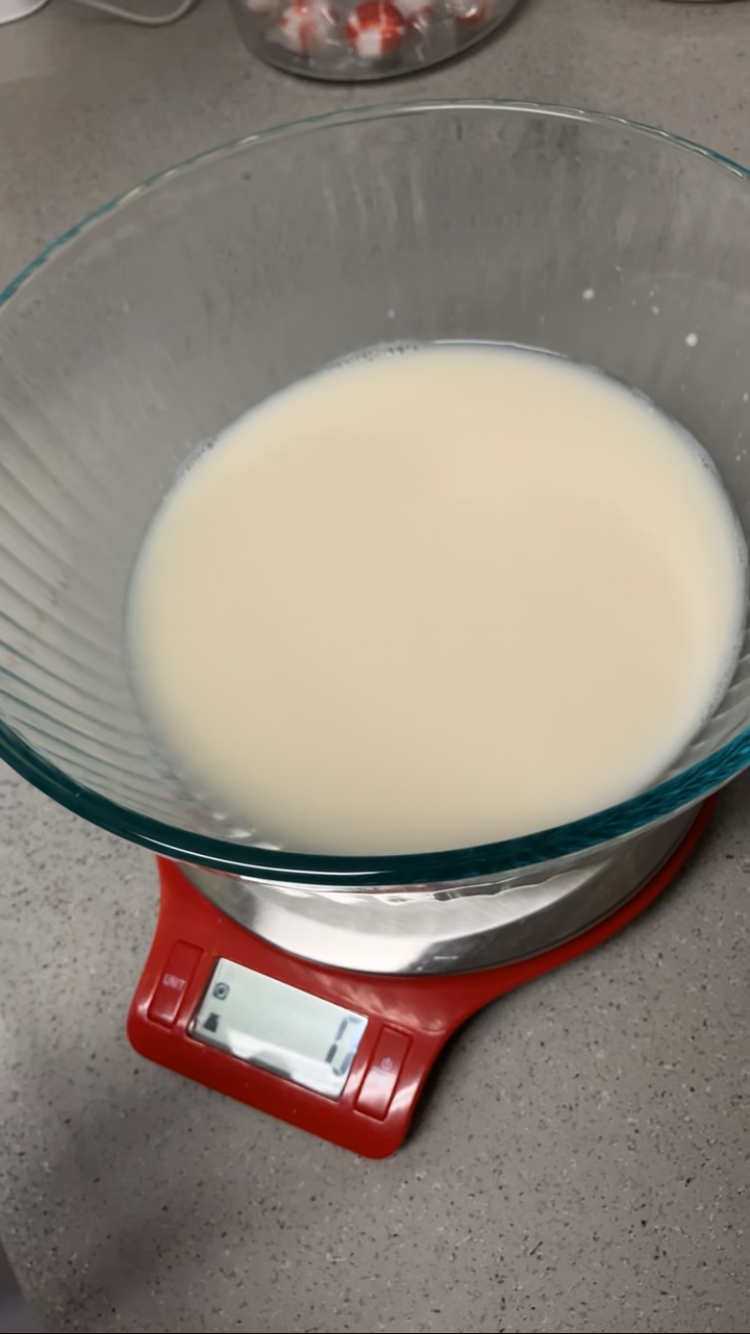
= Food scale, this recipe is made using grams for measurement.
Now to the Ingredient
490 g flour
10 g Salt
(Optional 1 teaspoon active dry yeast for same day sourdough. it doesn't measure well on the scale.)
65 g Active sourdough starter
15 g honey
340 g Water
Instructions
Measure out and combined water with the active bubbly sourdough starter, (optional at this point to add 1 teaspoon of active dry yeast for same day sourdough) at this point you also add in the Honey, it will look kind of like milk.
Then add in the flour and salt.
Using hands or Dutch whisk mix all ingredients and form a shaggy dough (slightly wet not smooth) I also use a bowl scraper to help it combine since it tends to be very sticky.

Now let dough sit covered with plastic wrap for 30 minutes.
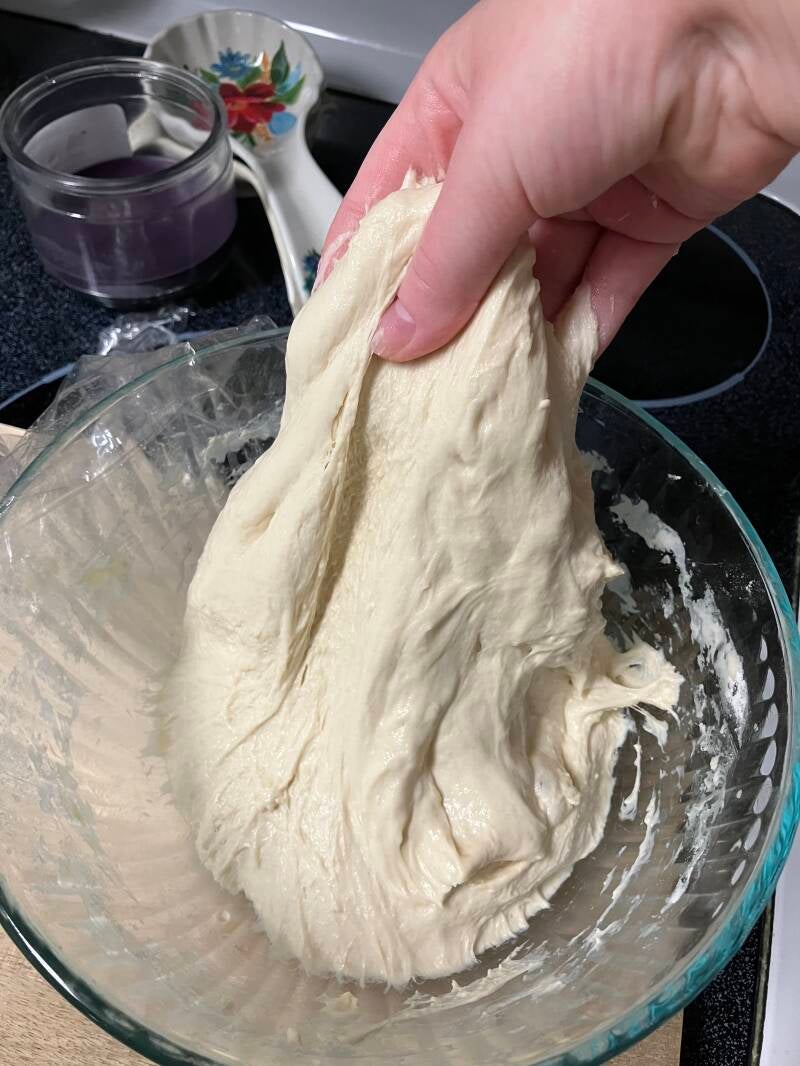
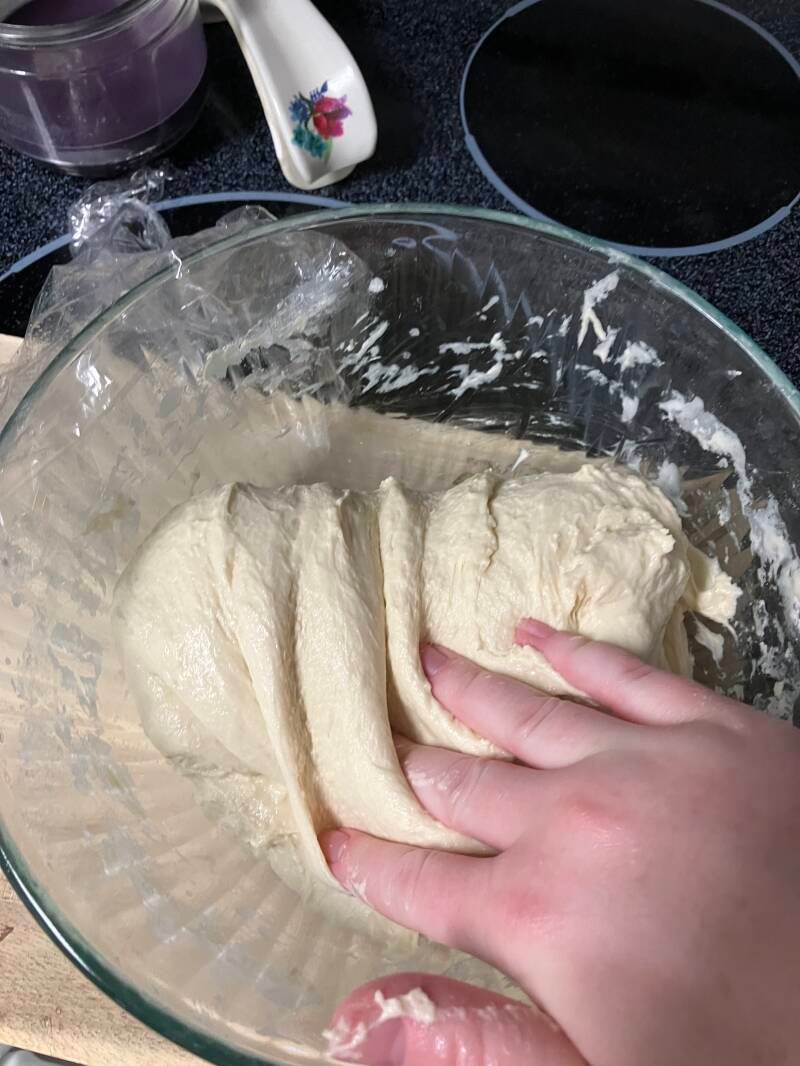
STRETCH AND FOLDS
There will be 4 sets of stretch and folds starting at 30 minutes after you’ve made the dough then every thirty minutes for 4 sets total.
Wet your hands (so the dough doesn't stick to them) and scoop one side of the dough and stretch it up and fold it over to the opposite side, then do this with every side 2 times. Re-cover bowl and repeat in 30 minutes.
After stretch and folds it’s time for its first fermentation, if you used yeast, it will be for 2 hours if you did not it will be for 4. Fermentation will be leaving your covered dough out at room temperature.
Once that’s done it’s time to laminate and shape your dough. Slowly dump dough onto floured surface, it may take a moment as it releases from the sides of the bowl. After it's out you will use your hands to stretch it into a square shape, then you will take one side of the square and fold it over, you will do the same to the opposite side, you want them to almost meet each other (but not touch) then take one of the narrow sides and roll until it becomes similar to a ball. Now the fun part in my opinion! You will Push forward lightly on the dough, then pull it backwards, repeat until you’ve created a nice, rounded shape. I usually see nice bubbles on the surface of the dough at this point.

BULK FERMENTATION
This is important, now take a tea towel and lightly flour it so that your dough won’t stick, place your dough into the tea towel and place it into a bowl that is big enough it won’t overflow inside your fridge, cover dough with the remaining bit of tea towel and place in fridge, if you added yeast this will be anywhere from 2 to 3 hours if you did not at yeast then leave it in the fridge for 6 hours or overnight.

Bake
Place your Dutch oven in the oven to pre heat for 40 minutes prior to baking.
Place chilled dough onto a square of parchment paper then create a design with a sharp knife or razor blade (carefully!)
Remove Dutch oven. Using the parchment paper gently place dough it into the Dutch oven.
Bake at 400 for 30 minutes then remove lid and bake an additional 20 minutes.
Let cool before cutting for best texture.
ENJOY!


Add comment
Comments